First day cover ·
Misty Moonlit Fantasy Scenes in Photoshop: Building the Fog and Sky Base
Build a misty fantasy base in Photoshop by layering stock fog and sky, masking with gradients, and toning with curves before adding the moon and model.

Fog does most of the emotional work in an image like this. Before a moon or a figure goes in, a soft, low-contrast base tells the viewer the scene is quiet, cold and slightly unreal. This walkthrough builds that base entirely from stock material, and it's a good way to think about the whole composite: establish the atmosphere first, then place the elements that live inside it.

Gathering the Stock and Setting Up the Canvas
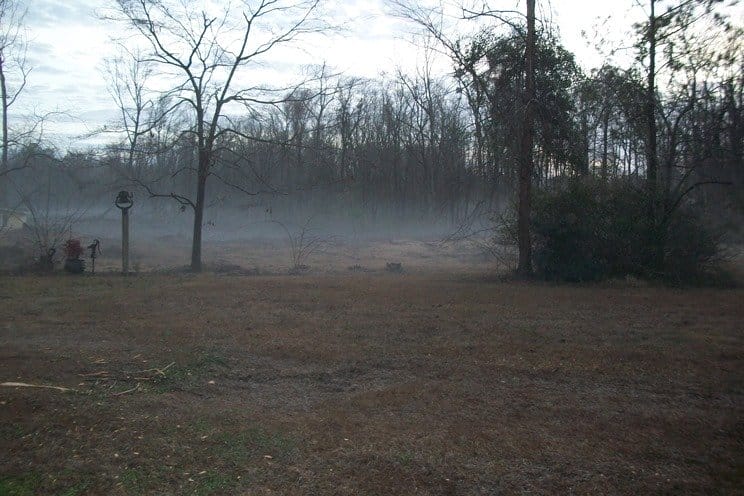
The tutorial relies on four resources: Pixabay's Foggy Morning, Salsolastock's Mad Sky 4, Kuoma-Stock's Fall 1 and Miranda-rose stock's dark forest 6, with a Pexels forest photo offered as an alternative. Foggy Morning is the anchor here, and Mad sky 4 supplies the sky. Download everything into one folder before you open Photoshop. It sounds minor, but tidy file names save real time once you're juggling a dozen layers.
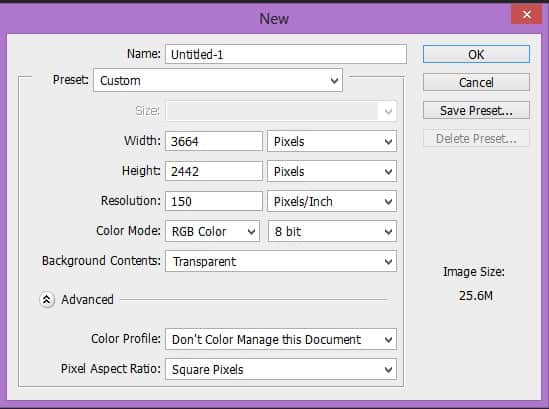
Start a new document through File > New and match the settings shown in the reference image, or open the foggy morning file directly and work from there. Either route gives you the same starting point: a canvas where the fog photo fills the frame.
Placing Fog and Masking It Cleanly
Next, bring the foggy morning image into the document with File > Place and choose the file. Placing rather than pasting keeps the image as a smart object, so you can rescale it without losing quality.
Click the Add Layer Mask icon in the Layers panel, then press G for the Gradient tool. Set it to Linear with the gradient running black to white. Hold Shift while dragging so the gradient runs vertically. The mask fades the fog in from one edge rather than leaving a hard horizontal seam, which is the difference between fog that sits in the air and a photo pasted over another photo.
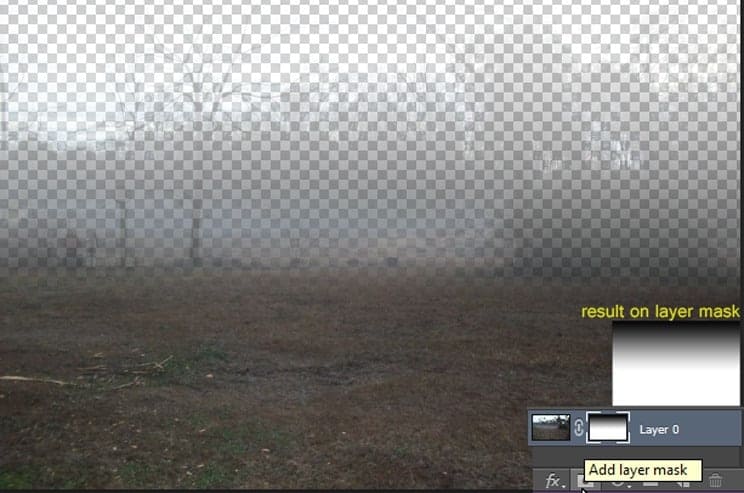
Here's the thing: a mask is the right tool for this because it's reversible. If the fog ends up too heavy after you add the sky, you can repaint the mask rather than rebuild the layer.
Layering the Sky Beneath the Fog
Place Mad sky 4 beneath the foggy morning layer. The sky is now visible only where the fog doesn't cover it, which is exactly the interaction you want: the sky reads as distant and partly veiled.

Select the layer mask on the foggy morning layer, then press B for the Brush tool. Set both Opacity and Flow to 40%. Painting at low flow builds the effect gradually, so you can sweep over an area several times and reveal the sky in soft stages instead of one harsh stroke. Paint where the sky should break through the mist, and keep the edges around the horizon feathered. Check the result against the reference image and stop when the sky feels like it's behind the fog, not stuck to it.

Toning the Sky with Curves
Add a new adjustment layer from the Layers panel and choose Curves. Apply it to the Mad sky 4 layer so it affects only the sky. The sky is usually the brightest and most saturated element in a stock composite, and in a moonlit scene it needs to drop into a cooler, dimmer register so the moon can read as the light source later.
That said, don't push the curve too far at this stage. The sky should support the mood, not compete with the figure you'll add later. Judge the curve by looking at the whole composite, since the fog above it will shift how the tones read.

The result after the curve adjustment looks like this:
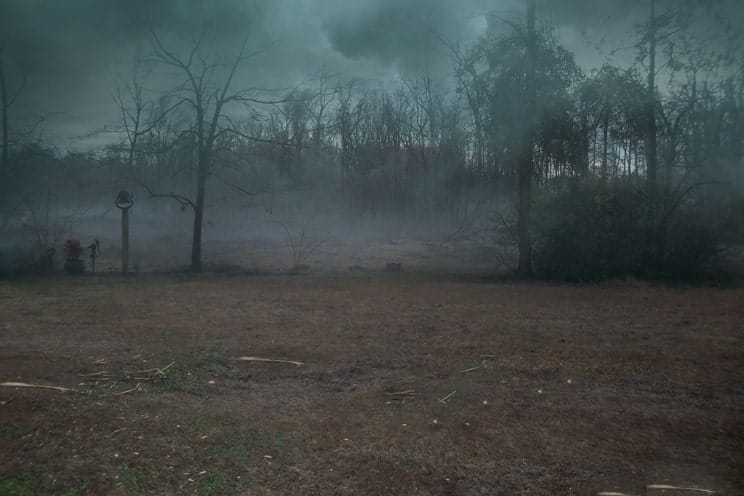
Adding Ground Detail with the Clone Stamp
Create a new layer and turn it into a clipping mask by right-clicking the layer and choosing Create Clipping Mask. A clipping mask keeps your painted detail confined to the layer beneath it, so anything you add stays inside the shapes you've already built.
Press S for the Clone Stamp tool. In the options bar, set Sample to Current and Below. That setting pulls pixels from the blended composite rather than only from the active layer, which matters here: you're sampling the sticks on the ground as they appear through the fog, so the cloned texture picks up the same haze as its surroundings. Sample the sticks and paint them into the ground area. Clone in short, varied strokes and change your sample point often, or the repetition will show.

What Comes Next in the Build
At this stage the frame has depth, atmosphere and a grounded foreground, but nothing is lit by a moon yet. The tutorial's direction from here is clear: paint the moon with a brush, place the model and blend them into the scene using layer blending options, then work the dodge and burn passes and cast shadows so the figure picks up the same light as the environment. Adjustment layers handle the final grade, and stars come last through filters.
My read is that the moon and the figure will make or break the piece. Before you paint the moon, check that its light direction matches where the fog is thinnest, because the gradient masks you set earlier already suggest a light source. Keep every mask editable, and remember the tutorial needs CS5 or later to follow along. If the model's edges look pasted on at that point, go back to the fog mask rather than adding more haze on top.