First day cover ·
Packing for Remote Wildlife Shoots: Weight Limits, Off-Grid Power and Gear Choices
A Danish wildlife photographer's pack for Scandinavian expeditions: a 20 kg ceiling, solar-based charging and the gear that earned its place.
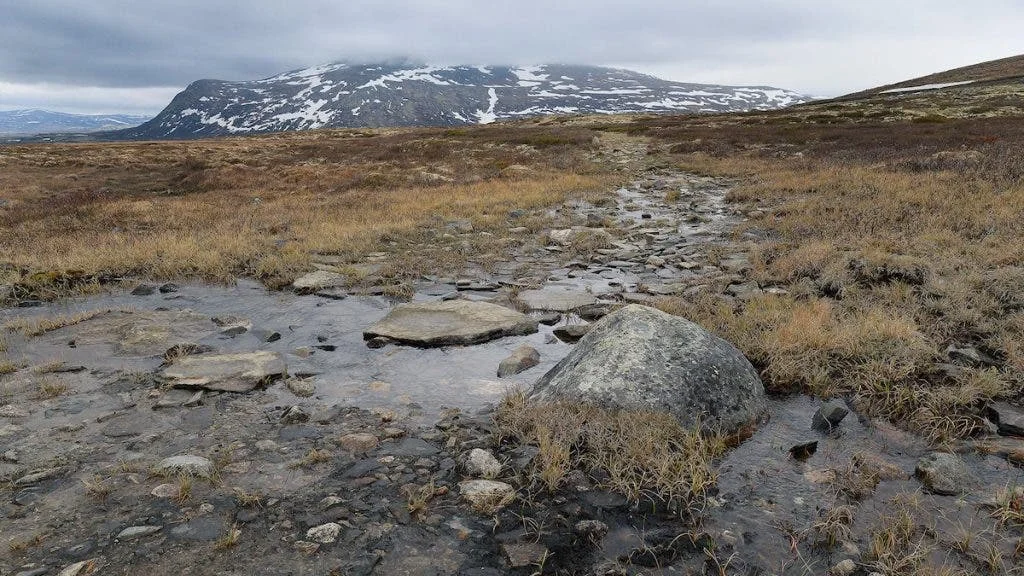
Most of the packing advice for photographers assumes you can put the bag in a car. Once the route starts with a steep climb and the nearest road is a long way behind you, the real constraint becomes weight, and it sets every other decision. For a nature and wildlife photographer based in Denmark who works mostly in Scandinavia, that means a load ceiling of about 20 kg, a camera kit that can't be trimmed much, and a power plan that works without a wall socket.
Start With the Terrain, Not the Camera Bag
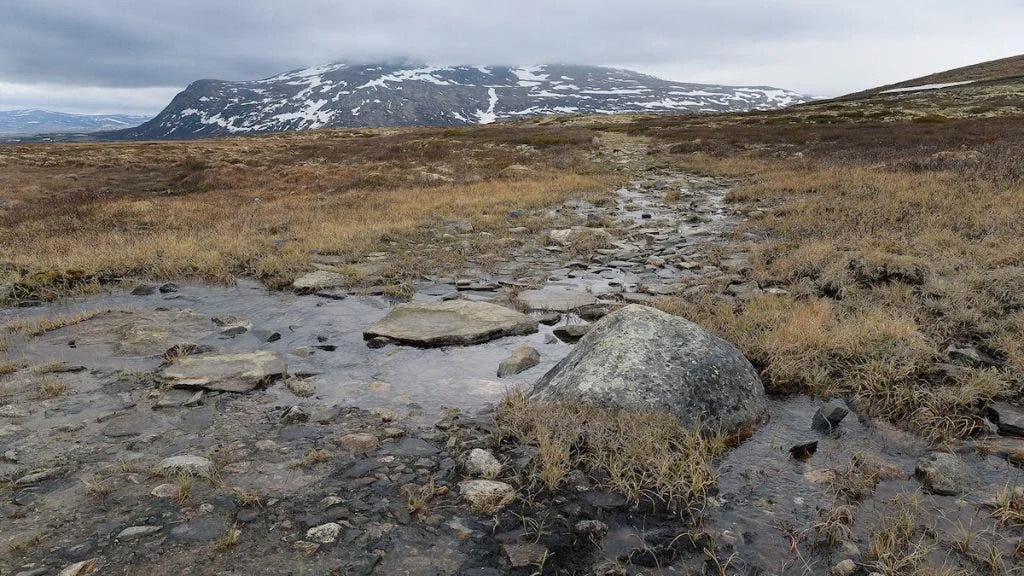
Packing begins with a geography check. Terrain, water sources and weather shape the load as much as the photography does. A trip to Norway and a trip to Tenerife call for very different kit, and the research goes beyond the map. Find out whether camping is allowed outside designated sites. In Norway, the right to roam generally permits pitching a tent anywhere except close to houses, but permits, campfire rules and navigation requirements still need checking before you leave. Decide whether paper maps and a compass are enough or whether you need a satellite device and a charged phone as a backup. Then study the local wildlife: when and where encounters are likely, and how close you can get without stressing the animals or putting yourself at risk.
Set the Weight Budget Before Buying Anything
The photographer's own numbers are a useful reference point. At 170 cm and roughly 80 kg, and by their own description a little below average in fitness, they set a target of about 25% of body weight, or 18 to 20 kg, for the full pack. That figure had to cover camera gear, food, water, phone and spare clothing, and the first leg of the trip was 1.5 hours of steep uphill to the tent site. Looking back, the photographer felt 18 to 20 kg was a bit much for their knees and back, which is worth remembering if your own training hasn't kept pace with your gear list.
Walking days were planned at 14 to 20 km. On moving days the full load goes on the back. On camp days the photographer carries a reduced load of 8 to 10 kg, roughly 10% of body weight, which is the proportion commonly recommended for long walks such as the Camino de Santiago. Those two numbers, the full-load ceiling and the day-walk load, set the packing decisions that follow.
Choosing a Pack That Carries Gear and Adjusts Under Load
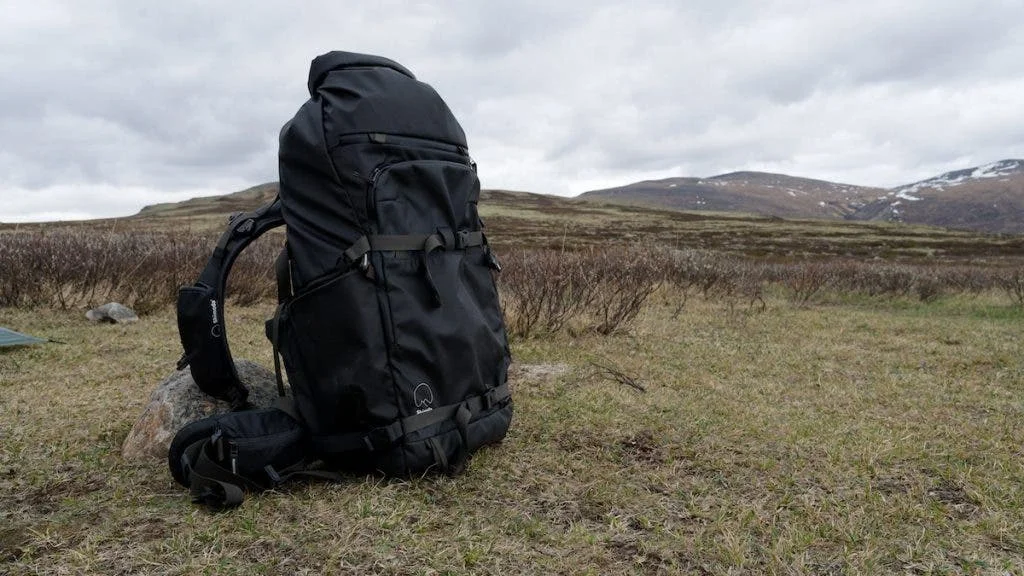
The pack needed three things: enough capacity for the full load, the ability to compress when the load dropped, and a layout that protected camera gear while keeping batteries, water and snacks within reach. The photographer chose the Shimoda X70 HD, a 70-litre heavy-duty pack with a roll-down top, height-adjustable shoulder straps, camera insert options, and pockets on the shoulder straps and waist belt.
Cutting Weight Everywhere Except the Camera
The rule was simple: leave the camera gear alone and cut everything else. The photographer laid out the usual kit and removed anything that counted as "good to have" rather than necessary. Water came first, because it is the heaviest thing a hiker carries. Rather than bringing a multiday supply, the photographer uses a LifeStraw Peak Series Solo to filter water from streams along the way. Where flowing water exists, the pack doesn't need to carry it.
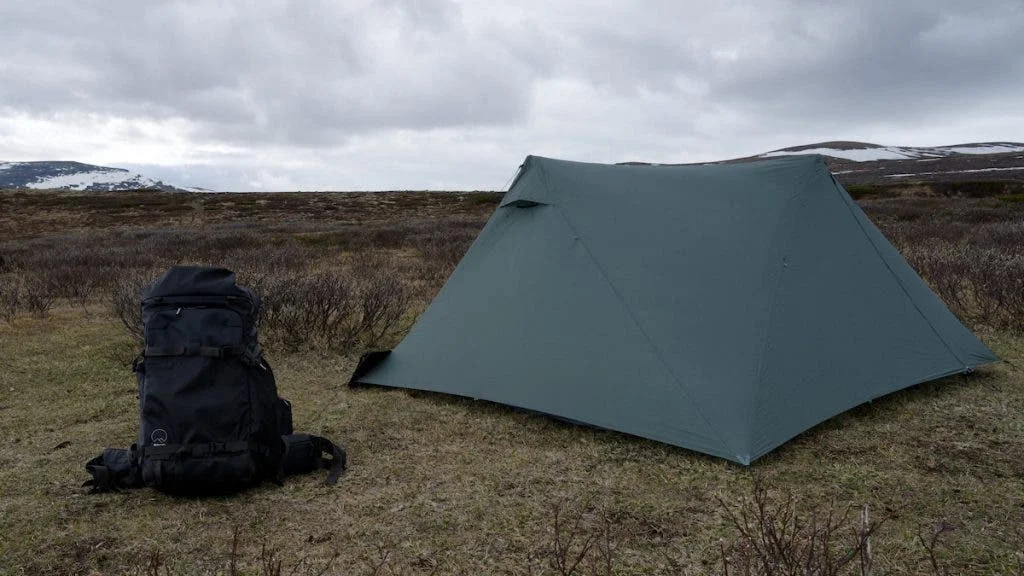
Multi-use items did most of the rest. A 650 ml Nalgene bottle serves as a drinking bottle by day and a heat source at night, wrapped in socks to hold warmth longer. The sleeping pillow is a woolen sweater and a down jacket stuffed into a T-shirt, all clothing that had to be carried anyway. Using the tent is a similar trade: the X-Mid 2 Solid is designed to use regular trekking poles in place of dedicated tent poles, and at 1,065 grams it cuts a noticeable amount of weight.
Using the Pack as a Tripod
The X70 HD has two large side pockets for tripods, but when weight matters the photographer skips the tripod and uses the bag itself as a support. It offers three heights: upright for the highest position, on its side for a medium angle, and lying on its front or back for the lowest. The catch is access. The camera insert can be reached from the top and from the back, so lying the pack on its front keeps the gear easier to get at. Check how your own bag opens before you rely on it this way, because a pack that's awkward to access in the field will slow down the shoot.
The Final Packing List
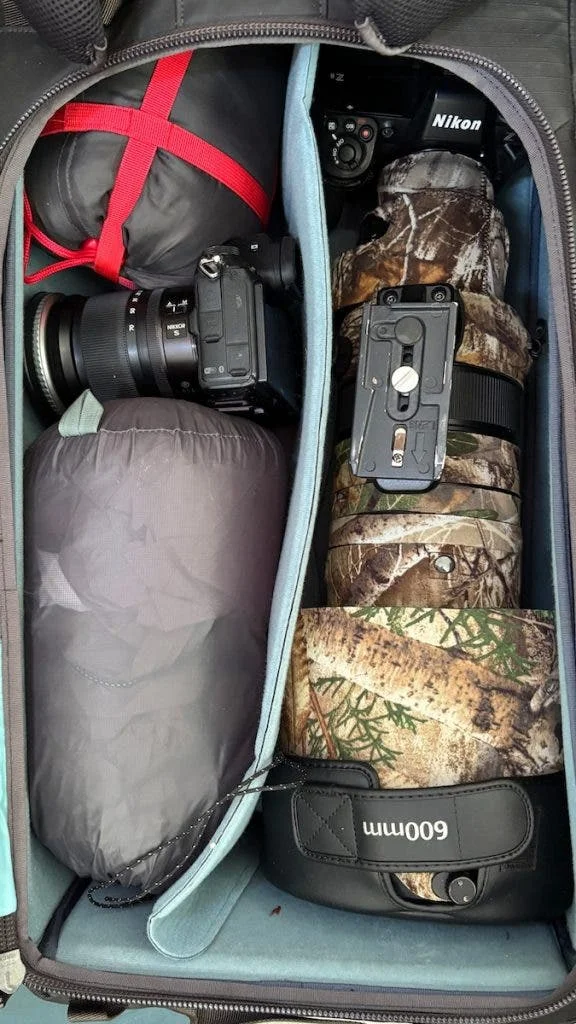
Once the weight was under control, the photographer wrote a checklist for a last pass before leaving home. The camera kit centres on a Nikon Z8 and a Nikon Z6II. Lenses are the Nikon Z 600mm f/4 TC for wildlife, the Nikon Z 24-70mm f/4 for landscapes and vlogging, and the Nikon Z 20mm f/1.8. Accessories include spare batteries, high-capacity power banks, extra memory cards, filters, a rain hood for the camera and lens, solar panels for off-grid charging, and one lightweight tripod.
Camp gear covers the X-Mid 2 Solid with trekking poles, a foam pad, a ground sheet and a sleeping pad, plus a Jet Boiler and a gas canister for cooking. Survival basics are the water filter and Nalgene bottle, dry food for the full trip, organic protein bars, a woolen sweater, a down jacket, a spare T-shirt and rain clothing. Only one spare of each clothing item comes along, enough to change into if everything gets soaked. The phone stays as the one link to the outside world, and the photographer kept it off-grid as much as possible.
An Off-Grid Workflow That Keeps the Batteries Alive
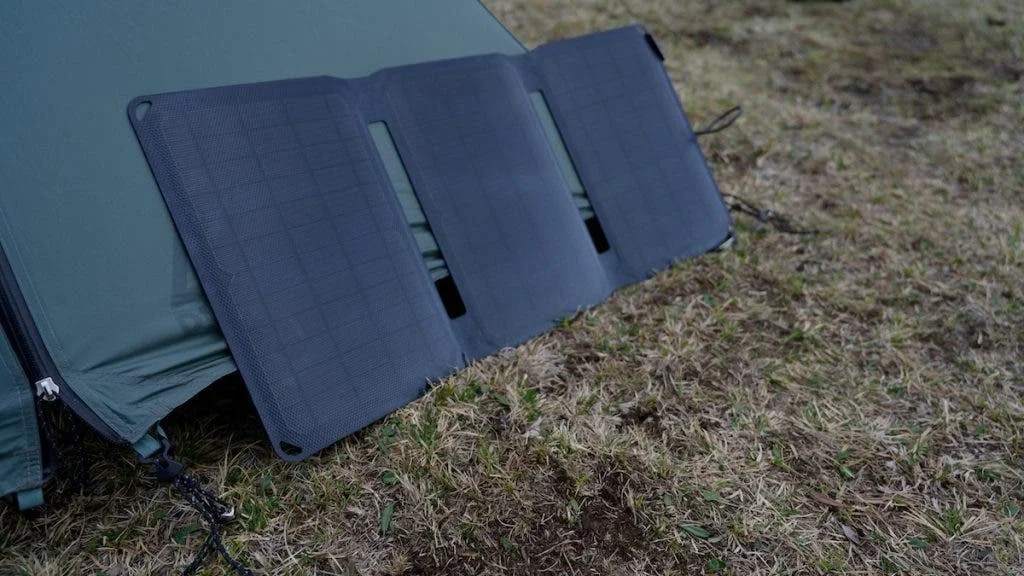
Power is the constraint that bites hardest on a multiday trip in the cold. Batteries drain faster in low temperatures, and a camera that dies on day three is a serious problem when the next good light is hours away. The photographer's approach is a chain: solar panels charge the power banks during the day, and the power banks charge the batteries overnight. The working rule is to carry enough batteries to get through a full day without sun, so a cloudy spell doesn't end the shoot.
The daily rhythm follows from that. The day starts early, with a large breakfast, coffee, dry clothes, the solar panels set out, and the pack loaded for the walk. Back at camp the gear gets checked, batteries go on charge, and dinner is prepared and eaten. Editing and uploading wait until later, so the evening is for rest. Extra memory cards mean nothing has to be cleared in the field.
Before sleep, the Nalgene does its second job. Filled with hot water and tucked into a pair of warm socks inside the sleeping bag, it provides around four to five hours of extra heat, which matters on nights when the temperature drops sharply.
Adapting the List to Your Own Conditions
The photographer's climate is cold, wet and long-distance, which drives the emphasis on warmth, power and keeping gear dry. Other locations pull the priorities elsewhere. Strong sun and heat may mean protecting yourself and your kit from the sky more than from rain. Dust can be a bigger threat to sensors and mechanisms than water. The packing logic stays the same even when the answers change: work out what the trip demands, set a weight limit you can actually sustain, and build the workflow around the conditions you expect. Tired photographers and dead batteries produce few good frames, so the kit that keeps you rested and powered is part of the photography.