First day cover ·
Balancing ISO and Shutter Speed for Wildlife Photography in Low Light
Low light forces a choice between noise and motion blur. Field tests with a 400mm lens show how subject distance and movement shift that balance.
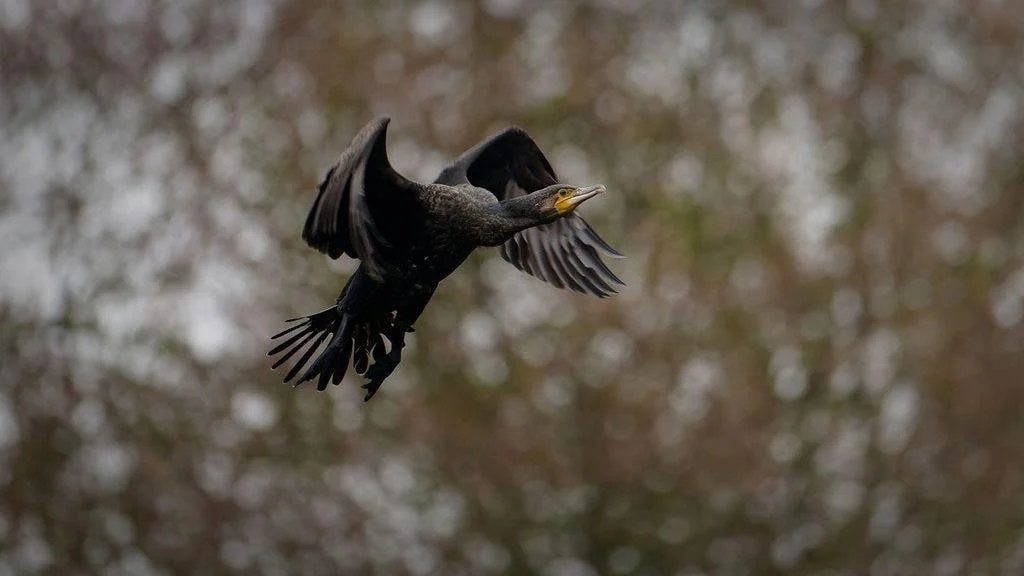
Every wildlife shooter faces the same arithmetic at dusk. The light is fading, the animal won't stay still, and two settings pull in opposite directions. Raise ISO and noise creeps in. Slow the shutter and the subject smears. Neither fix is free, and no single pair of numbers works everywhere. What helps is understanding how each variable shifts the trade-off, so you can make the call in seconds instead of burning through test frames while the light disappears.
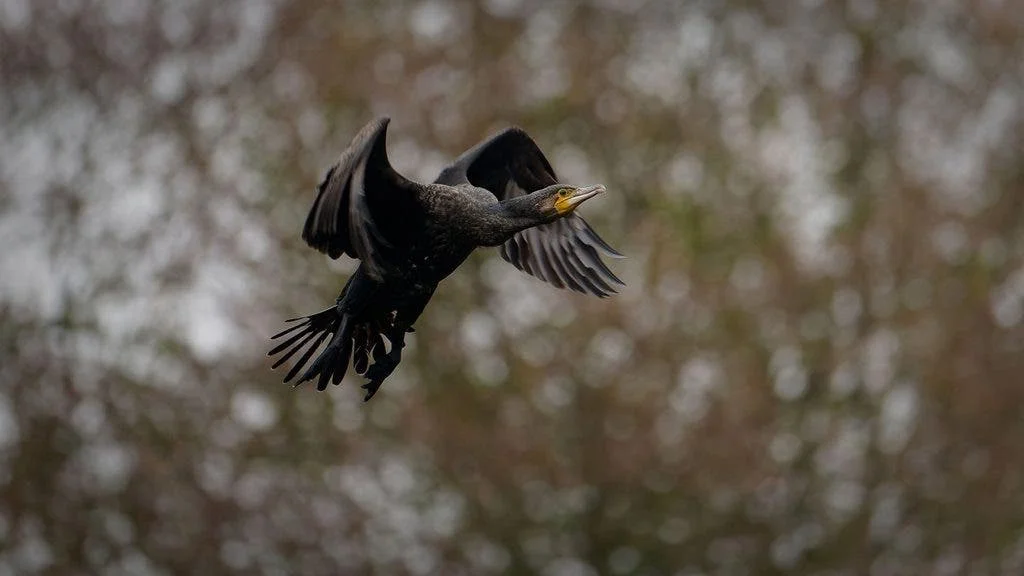
Where the Trade-off Breaks Down
Raising ISO amplifies the sensor's signal. Frames get brighter at the same shutter speed and aperture, which sounds like pure gain until you look at the pixels. A more sensitive sensor also records more random errors: dark pixels, bright pixels, and odd colors that show up as grain or colored speckle. Some of that can be cleaned up in post, but past a certain point no software will rescue the frame.
Shutter speed controls how long light reaches the sensor. A longer exposure means a brighter file, but any movement during that window gets recorded as blur. At the extreme, a bird in flight turns into a translucent ghost. Unlike noise, motion blur is baked into the capture. Editing can't reconstruct detail that never landed on the sensor in the first place.
That asymmetry explains why photographers tend to fall into one of two camps. Some avoid high ISO and come home with soft, blurry frames. Others shoot wide open on the sensitivity dial and come home with noisy files. The problem is that there's no fixed rule to follow. The right balance depends on available light, camera-to-subject distance, sensor resolution, how fast the subject is moving, and how well your camera handles high ISO.
Testing the Variables With a Model Who Doesn't Move
Peter Dam set up a controlled series to see how these variables behave in practice. Every frame was a RAW file, shot with a Nikon Z 400mm f/4.5 VR S lens, and left unprocessed. His model was a teddy bear named Peter Pandi. The bear can't move, which makes it useful for isolating the effect of ISO and distance without motion blur getting in the way.
The first test kept the camera at 6 meters and stepped ISO from 200 up to 12,000. Dam found the results better than he expected. Quality at ISO 12,000 was still reasonable, though the drop-off was clear enough to push you toward the lowest ISO you can get away with. For his camera, he was comfortable going up to ISO 6,400 or a little beyond at that distance.
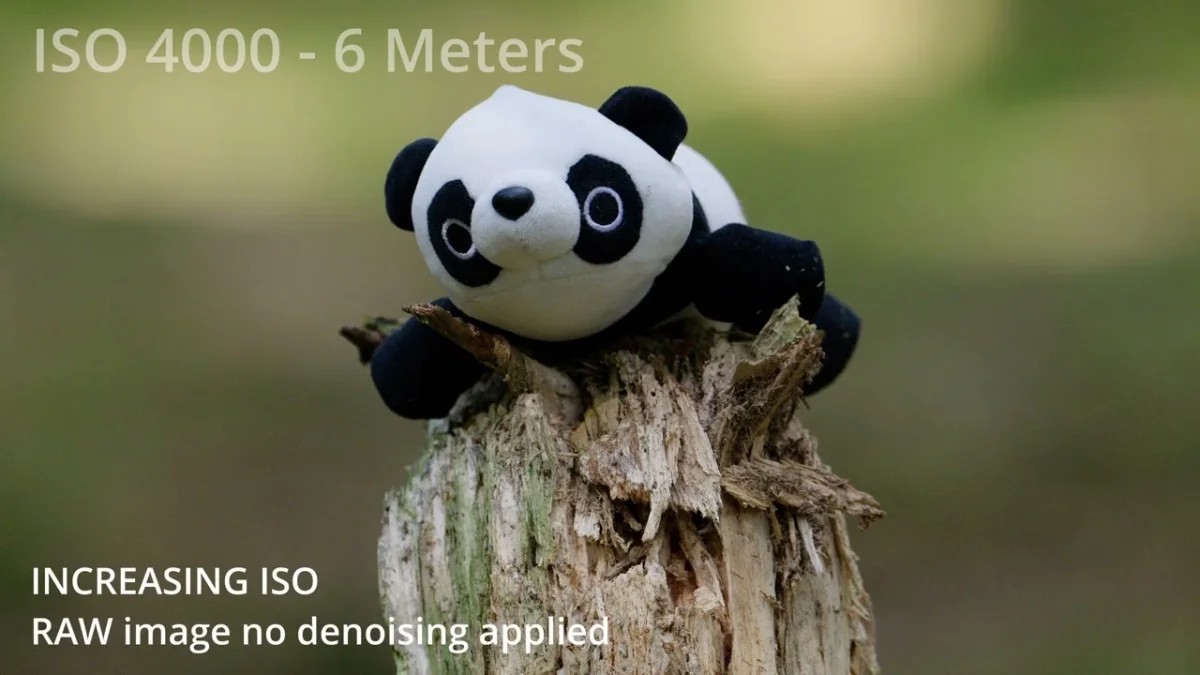
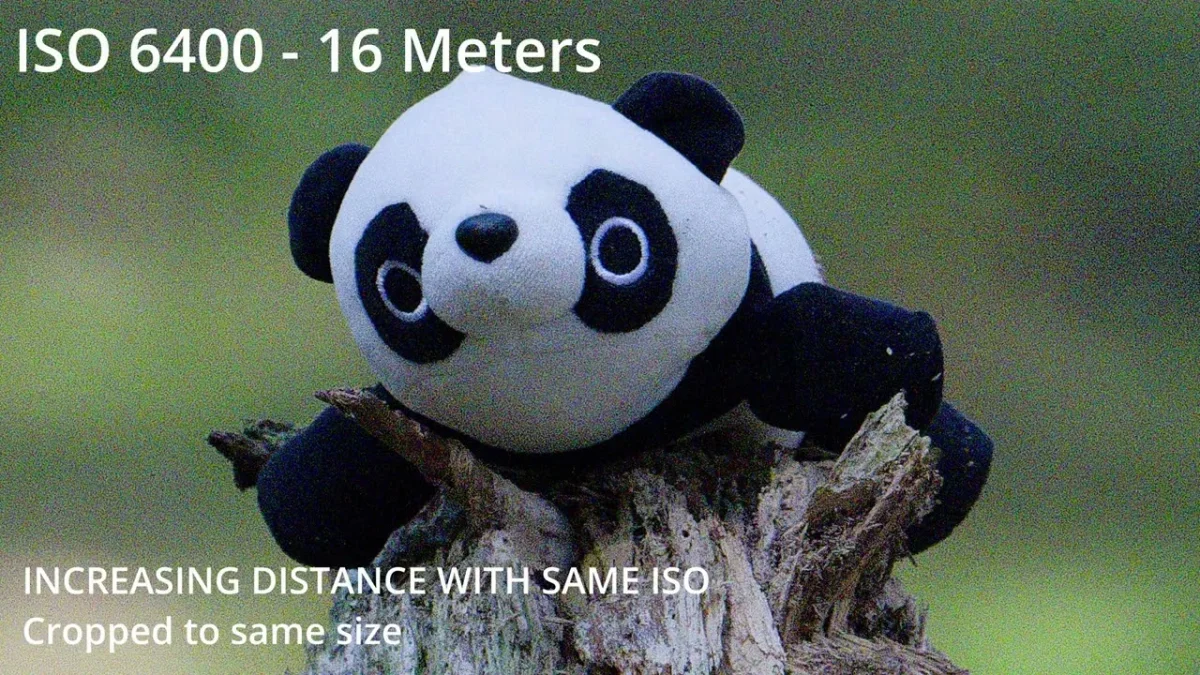
The second test flipped the variables. Dam fixed ISO at 6,400, held aperture and shutter speed constant, and moved the camera from 4 meters out to 30 meters. He then cropped each frame so the bear filled roughly the same area. This is where the picture fell apart. Noise became visible at 7 meters, and beyond 16 meters the image quality was poor. Noise at that level can't be fixed in post, and heavy cropping at high ISO makes things worse. Your best bet is a focal length that matches the subject's distance, or a hide or camouflage setup that lets you get close enough without spooking the animal.
Finding the Slowest Safe Shutter Speed
Motion blur depends on three things: shutter speed, how fast the subject moves, and how far away it is. Distance matters more than people expect. The closer you are, the faster a subject appears to travel across the frame, so a bird passing at 8 meters demands a much quicker shutter than the same bird at 30 meters.
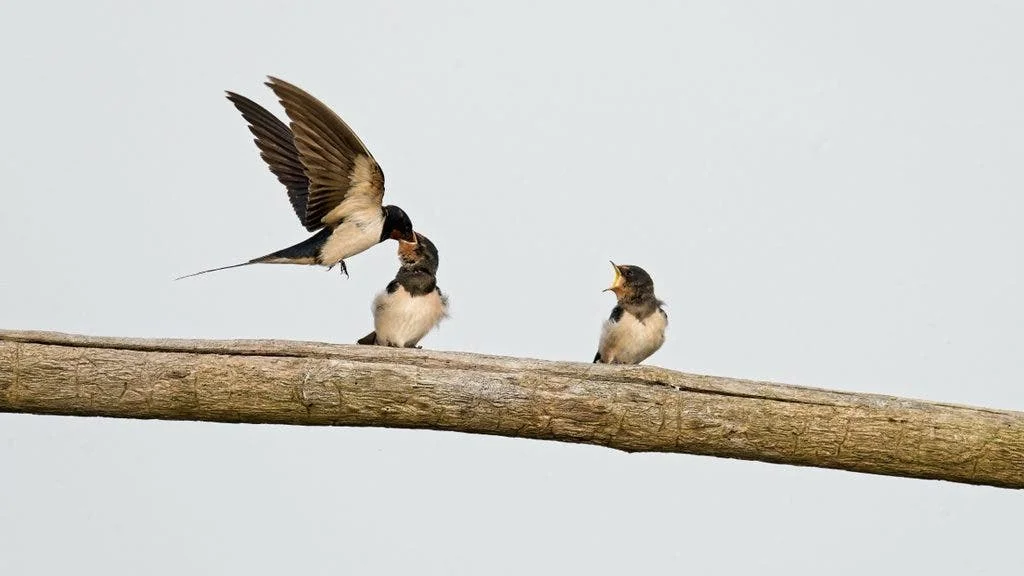
Dam's barn swallow shot illustrates this. The adult was feeding a chick from a distance of about 8 meters, and freezing its wings required 1/2000s. That pushed ISO up to around 2000. Small, fast birds leave you little room to slow down.
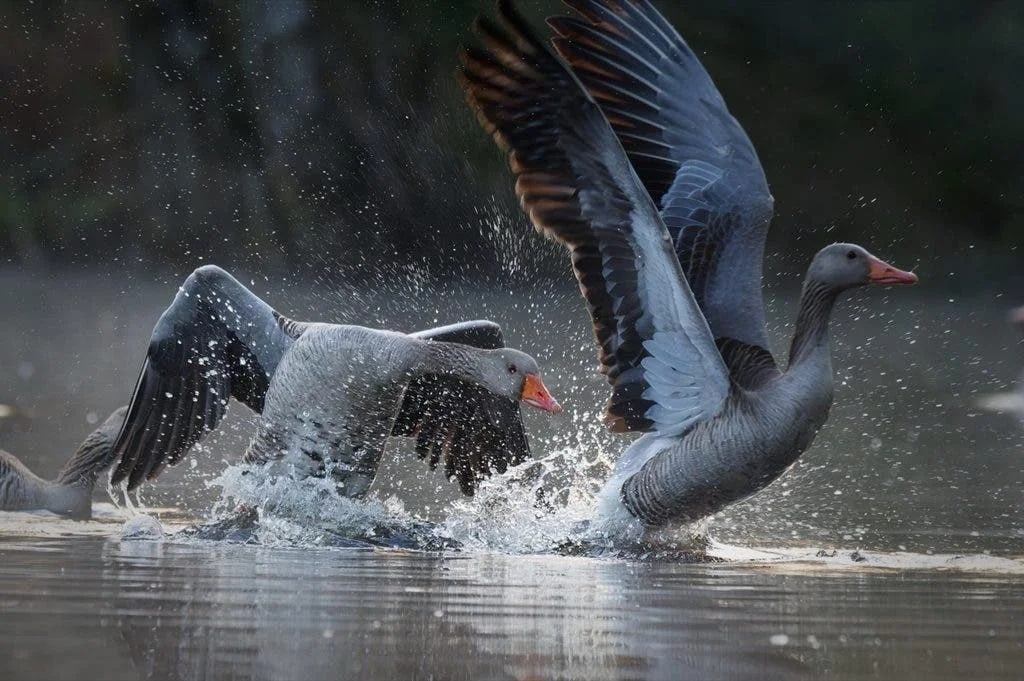
Action changes the math again. Two geese fighting in the water looked sharp at a shutter speed that froze the spray, but 1/640s was too slow and the motion blur showed. For a goose stretching its wings at a distance, 1/1000s was enough to stop the slowest part of the flap. The lesson is that the same bird can need very different settings depending on what it's doing.
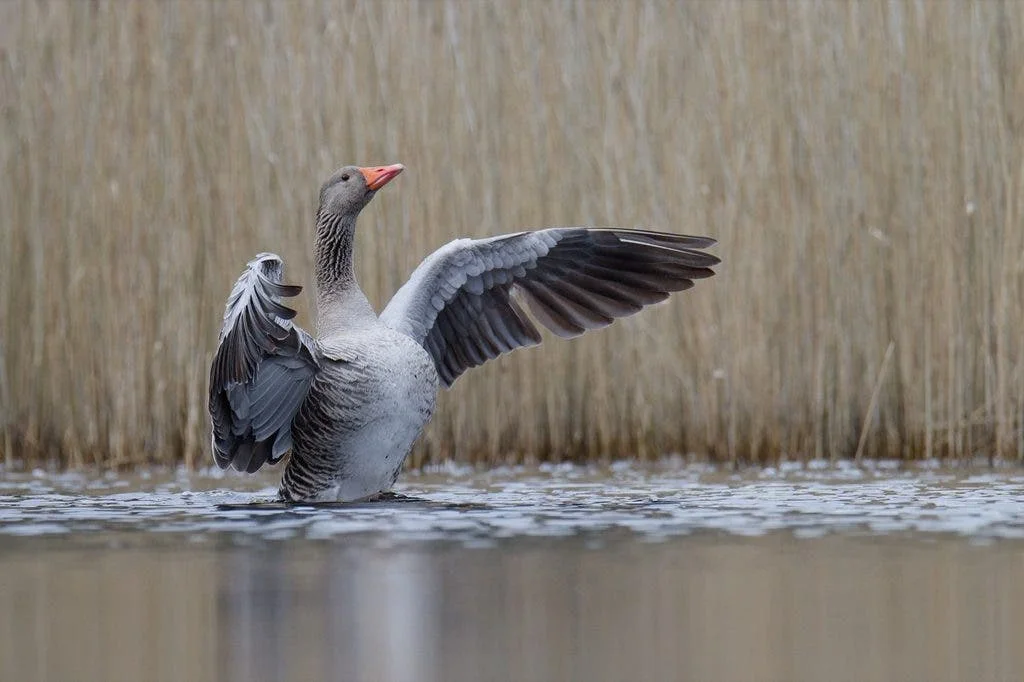
The practical method is to start with a safe, fast shutter speed and the ISO that comes with it. Then work the shutter slower one step at a time while watching ISO fall. You'll find the point where motion starts to soften, and you can back off from there.
A Field Checklist for Quick Decisions
Nobody has time to bracket a series while a heron walks toward the lens. Dam's rules of thumb are meant to be applied on the spot:
- Estimate camera-to-subject distance. Within about 10 meters, motion blur is the bigger threat and shutter speed takes priority. Noise is more forgiving at close range. Beyond 10 to 15 meters, motion blur becomes less likely while high-ISO noise becomes the problem. At that range, give up a little shutter speed to bring ISO down, but take a few safe frames first.
- Watch what the subject is doing. A fully active subject leaves you no choice: fast shutter, higher ISO. If the animal is mostly still and your camera is braced, you can drop ISO and slow the shutter without much risk.
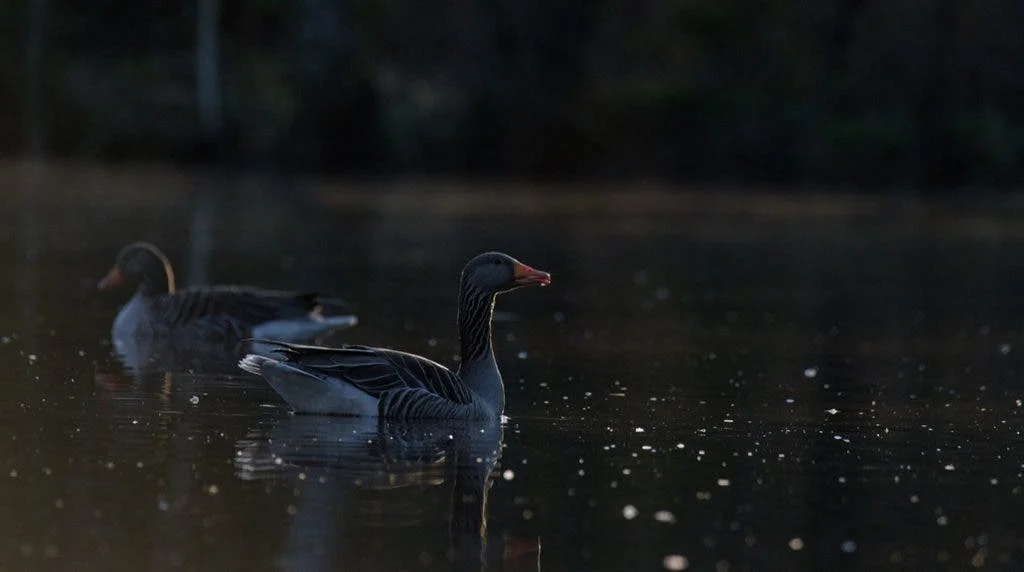
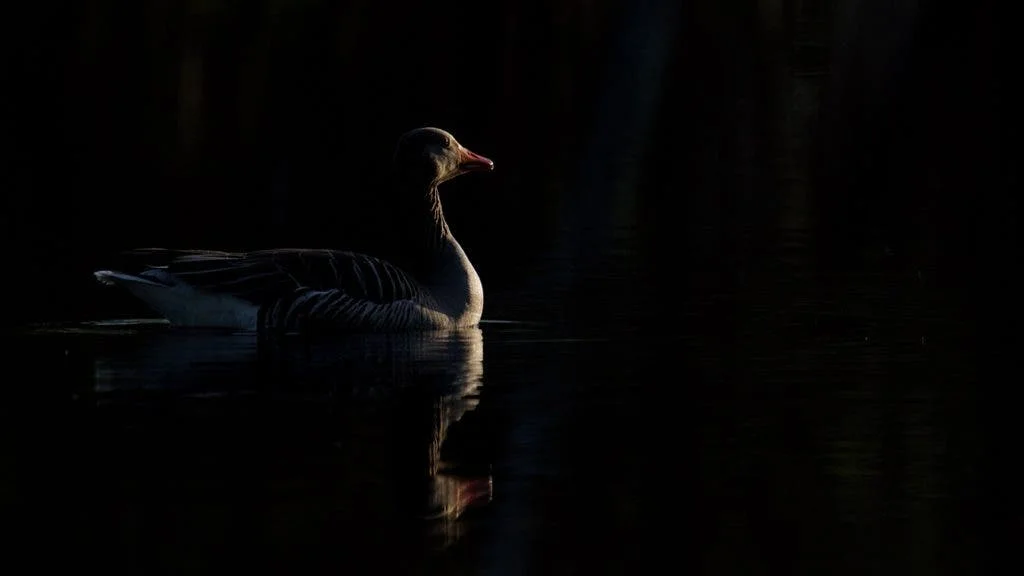
- Consider backlighting when the light is low. If you can't reach the shutter speed you need, shoot backlit against a dark background and underexpose by one or two stops. That lets you drop ISO or raise shutter speed while still producing dramatic frames. Silhouettes and rim-lit outlines hide the lack of fine detail that noise would otherwise expose.
Know Where Your Gear Gives Out
Camera ISO ceilings vary a lot. Some bodies stay clean into high ISO territory, while others add so much noise that anything above a moderate setting is unusable. Find your camera's limit before you're on a bank at dawn. If it can't handle ISO 12,000 without heavy noise, set a hard ceiling and solve low-light problems another way, such as moving closer, choosing a different angle, or backlighting.
Stabilization changes the picture too. Without in-body or lens stabilization, or when you're handholding a long super-telephoto, you're more exposed to motion blur, even from a still subject. In that case, keep the shutter fast and accept the higher ISO.
Preparation Does Most of the Work
Dam's underlying point is that balancing ISO and shutter speed should become automatic. You know your gear's limits, you understand how the animal behaves, and you've planned the session before you arrive. Scouting the location, timing the light, choosing a hide or camouflage setup, and working out where the animal will move all reduce the number of decisions you have to make under pressure. Get those right and the settings usually follow.