First day cover ·
Setting Up a Floating Sky Scene in Photoshop: Canvas, Smart Objects and Soft Dodging
Build a surreal sky composite from the ground up: a 3000px canvas, placed stock land, and soft brush darkening that keeps edits flexible.

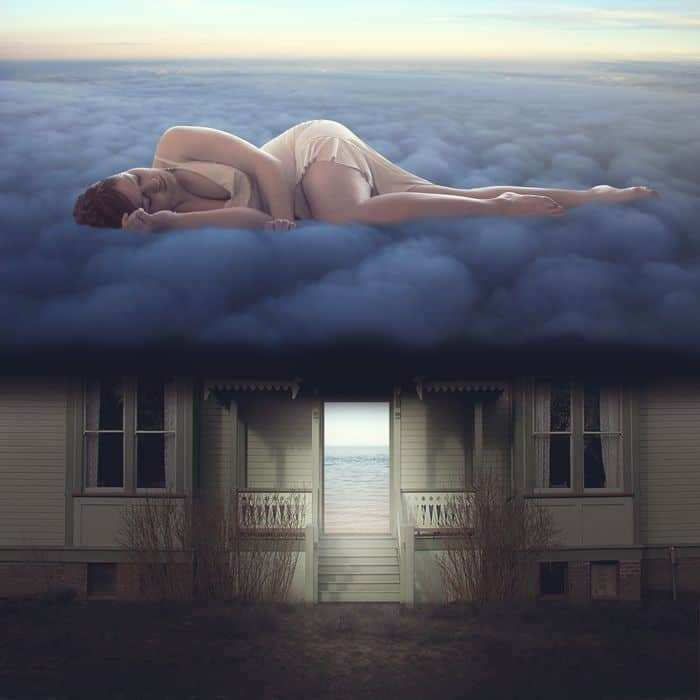
Surreal composites like this one live or die on their foundation. If the land, lighting and canvas are wrong at the start, every cloud and figure you add later has to fight the scene. This first stage sets up a square canvas, brings in a stock landscape as a non-destructive Smart Object, and shapes the light with a soft brush on a clipping mask. None of it is flashy, but it's the part that keeps the rest of the edit easy to change.
Starting with a Square, Transparent Canvas
Open File › New and set the preset to Custom. The working values are 3000 × 3000 px at 300 pixels per inch, in RGB Color at 8 bit, with Background Contents set to Transparent. A square format gives you room to crop later into portrait or square crops without losing resolution, and 3000 px on each side is plenty of working space for a composite that will be reviewed at screen size or printed at a modest size.
Keep the transparent background. It may look odd at first, but it means nothing is hiding behind your first layer, and you can judge the edges of every element against the checkerboard. Pixel dimensions drive the real output size far more than the 300 ppi figure does, so don't assume the resolution setting alone decides print quality.
Placing the Land as a Smart Object
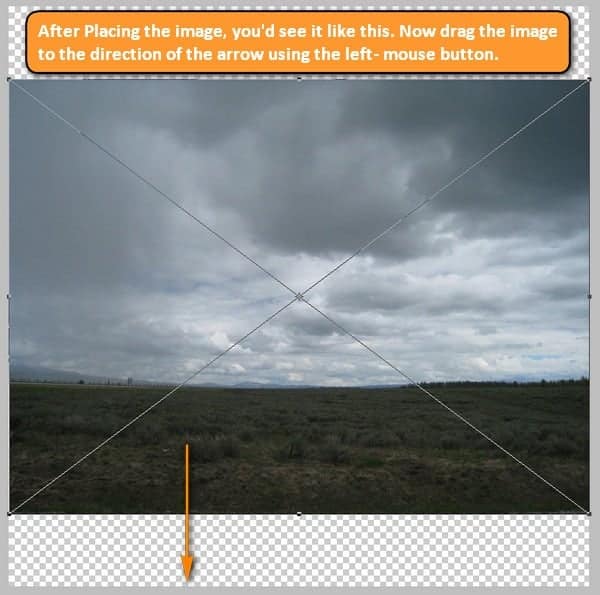
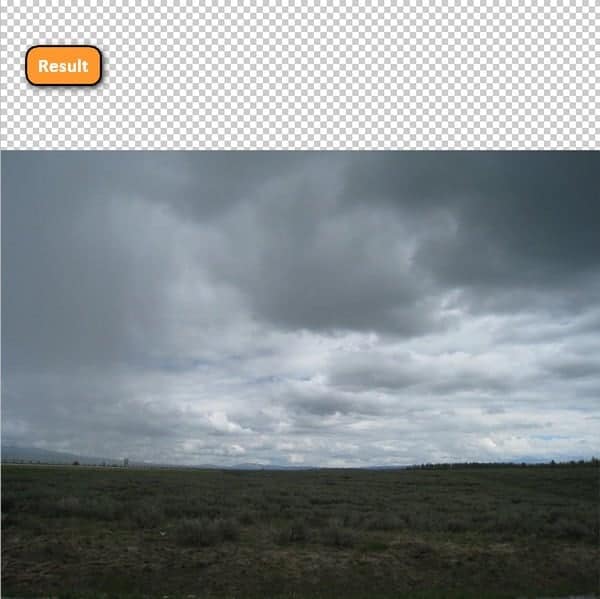
The base land comes from "Stock Field" by digital amphetamine. Bring it in with File › Place rather than dragging and dropping or copying and pasting. Place embeds the file as a Smart Object, so you can scale, rotate and warp it repeatedly without the softening that builds up when you transform raster pixels again and again. For a scene where you'll likely reposition the ground while you test the house and sky, that flexibility matters.
Darkening the Foreground Without Committing to It
The field is too bright to read as the grounded, slightly moody base this scene needs. Rather than painting directly onto the photo, add a new layer with Ctrl/Cmd + Shift + N and keep it directly above the field layer. Then right-click that new layer and choose Create Clipping Mask. The layer now affects only the pixels beneath it, so you're shading the land and nothing else.


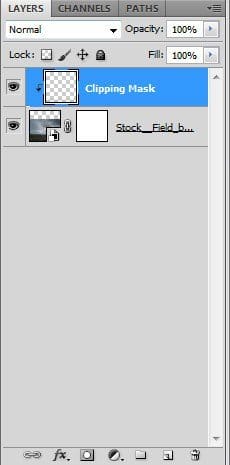
The clipping layer is only as good as your brush, and this is where many people rush. Select the Brush tool (B) and check that you're using Photoshop's default brushes. If the set looks different, right-click the canvas with a layer selected and the Brush tool active, open the brush panel menu, and choose Reset Brushes. Starting from defaults means the settings below will behave the way the tutorial intends.
Brush Settings That Build Gradually
Set the brush to a size of 800 px, Hardness 0%, Opacity 15%, and Flow 100%. The soft edge spreads the shading so there are no visible seams, and the low opacity means each stroke adds only a little density. That's the point. You're building tone in layers of light passes, not committing to a single heavy stroke you'd have to undo.
Open the Foreground Color swatch to pick your shading color. The Color Picker opens when you click it, and a dark, slightly cool tone tends to read more naturally on land than pure black. Then paint over the area shown in the reference, and go back over it several times. Stop when the ground looks evenly toned rather than when you think it looks dark enough. You can always add another pass.


Keeping the Layer Stack Under Control
Once the land is shaded, select all of its layers and press Ctrl/Cmd + G to group them. Double-click the group's name, type "Land," and press Enter. It sounds like housekeeping, but a composite with forty unnamed layers becomes very hard to edit by the time you reach the sky and figure. Grouping also lets you hide or move the whole ground plane in one click while you test lighting against the clouds.
Name layers as you go, too. Double-clicking a layer name such as "Layer 1" opens a text box, and a clear name like "Field Shadow" or "Ground Dodge" saves real time later. The layers you'll care about most are the ones that control light, so give them names that describe what they do.
Where This Stage Leaves You
By now you have a transparent square canvas, a land plane placed as a Smart Object, and a grouped set of shading layers that darken the ground without touching the original pixels. That's a solid base. The ground tone also tells you what light the rest of the scene needs: a darkened, low-contrast foreground pushes the eye upward, which suits a sky-based concept. My read is that if the land still looks too bright against the clouds you add next, the fix is more shading on the clipping layer, not a harsher sky.
Credit for the imagery goes to the people who made it. The field is "Stock Field" by digital amphetamine, the house reference is "ol house 1" by JensStockCollection, the ocean is by theswedish, and the sky elements are "Above 3" by CAstock and "February Winter Morning" by Eirian Stock. You can find the originals at Stock Field, ol house 1, Ocean, Above 3 and February Winter Morning. Check each license before you publish a finished piece.