First day cover ·
Build a Tiger Eclipse Composite in Photoshop with Floral Layers and Light
Create a square tiger portrait with a softened floral setting, a glowing ring, star details and carefully layered light effects.
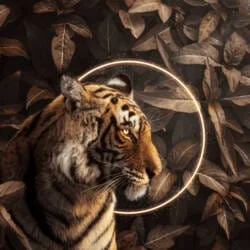
A bright ring can give a wildlife portrait a strong focal point, while softened foliage keeps the scene from competing with the animal. This Photoshop composite builds that effect around a tiger: a floral image establishes the setting, a blurred treatment adds depth, and a white ellipse becomes the eclipse-like frame. Star brushes, tonal adjustments and painted light help bring the elements together.

The document is designed as a square, high-resolution image. The supplied steps cover the canvas, floral base, ring and star details, then introduce the tiger cutout. The project overview also names butterflies, rays and a final Camera Raw Filter as later finishing elements.
Gather the image and brush resources
Prepare the floral background, tiger photograph and lava texture, along with butterfly artwork and brushes for stars and rays. The links below identify the resources used for the project. Keep the source images available as separate files so they can be placed or opened as the workflow requires.
Set up the square canvas
Create a new Photoshop document at 3080 pixels wide by 3080 pixels high, with a resolution of 300 pixels per inch. Choose RGB Color, 8 bit, and set the background contents to Transparent. This gives the composite a clear square format and leaves the initial layer space ready for the placed photograph.

Soften the floral setting
Use File > Place to bring the floral photograph into the document. Transform it with Ctrl/Cmd + T, sizing and positioning the image to cover the canvas. The provided instructions call for holding Alt + Shift while transforming; in Photoshop CC, they specify holding Alt to scale all sides together.


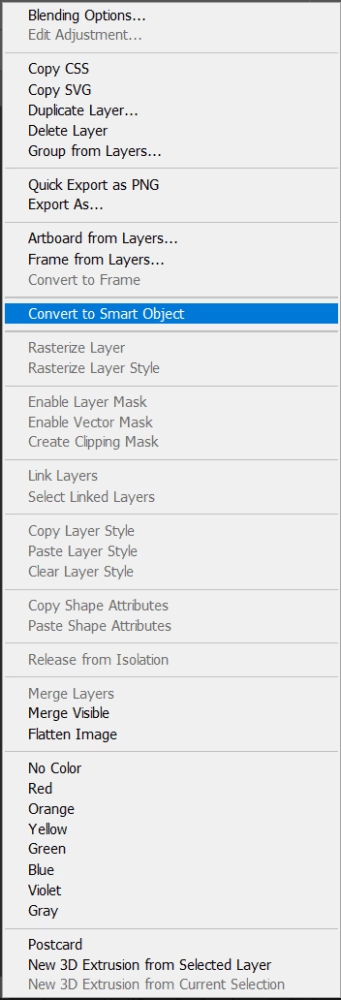
Convert the placed layer to a Smart Object before applying the blur. This keeps the filter adjustable as you refine the composition. Choose Filter > Blur > Gaussian Blur and set the radius to 3 pixels. The slight softening gives the foreground subject and ring more visual separation while preserving the foliage as the setting.


Adjust color and paint a light accent
Add a Color Balance adjustment layer, followed by a Curves adjustment layer. These controls let you shape the color and tonal contrast of the floral base before the tiger is introduced. The steps provide example settings in the accompanying screenshots, but no numeric values are specified in the written instructions. Use the visual references when matching the demonstrated treatment.


Create a new layer and select a Soft Round brush. Set the foreground color to gray, paint the light accent shown in the reference, then change the layer’s blend mode to Color Dodge. Build the effect with controlled brushwork: the aim is to add a localized lift to the scene without washing out the floral texture.

Draw the eclipse ring and add stars
Select the Ellipse Tool by pressing U. Set Fill to None and Stroke to white at 20 pixels, then draw a circle 1866 pixels wide and 1866 pixels high. Position the ring to create a frame within the square composition. Its large scale should leave room for the tiger to overlap or sit within the circular shape as the composite develops.
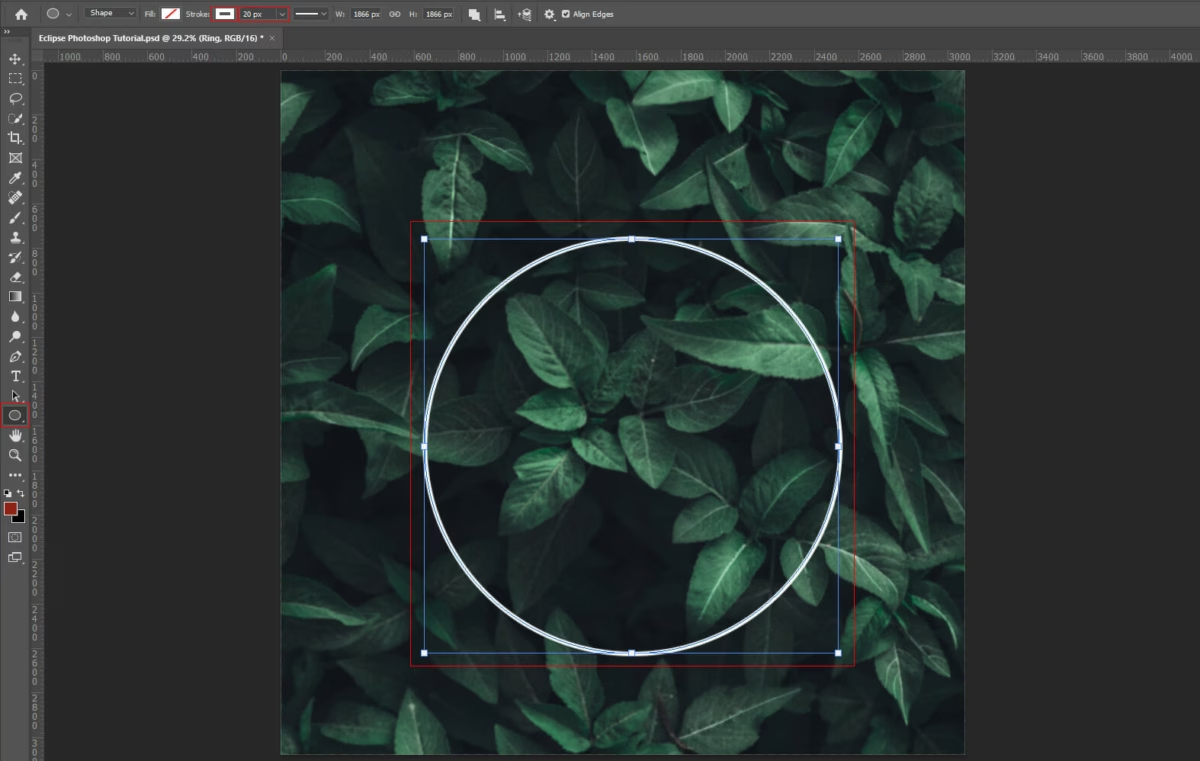
Open the ring layer’s Blending Options and add Inner Glow and Outer Glow. These layer styles soften the hard edge and make the circle read as a luminous element. Refer to the displayed settings for the demonstrated appearance; the written directions don’t provide numeric values for either glow.


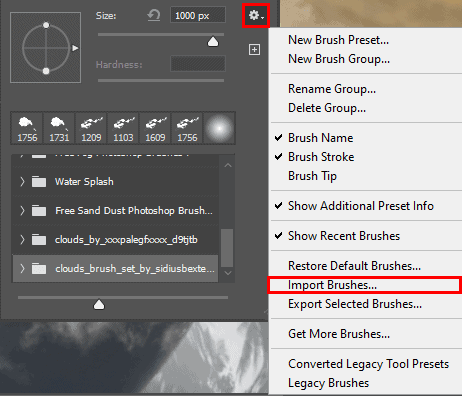
Load the star brush set from the Brush Tool options. Choose a brush, set the foreground color to white and paint stars into the scene. Vary their placement to support the ring and subject, keeping the brightest cluster from distracting from the tiger’s face.


Cut out and place the tiger
Open the tiger photograph and use the Quick Selection Tool, shortcut W, to select the animal. Refine the selection around its outline before copying it with Ctrl/Cmd + C and pasting it into the composite with Ctrl/Cmd + V. Use Ctrl/Cmd + T to scale and position the cutout so it works with the circular frame and remains the main point of attention.

The project overview identifies further work with adjustment layers on the tiger, butterflies, rays and additional light, followed by Camera Raw Filter for the finishing pass. Together, those elements offer room to tune the subject to the scene and direct the viewer’s eye. Keep the ring, animal and foliage working as one composition, then use the final tonal treatment to settle their color and contrast.