First day cover ·
Compositing a Polar Bear Reflection With Displace Distortion in Photoshop
Build a rippling polar bear reflection with noise-based displacement maps, layer masking and a soft contact shadow in Photoshop.

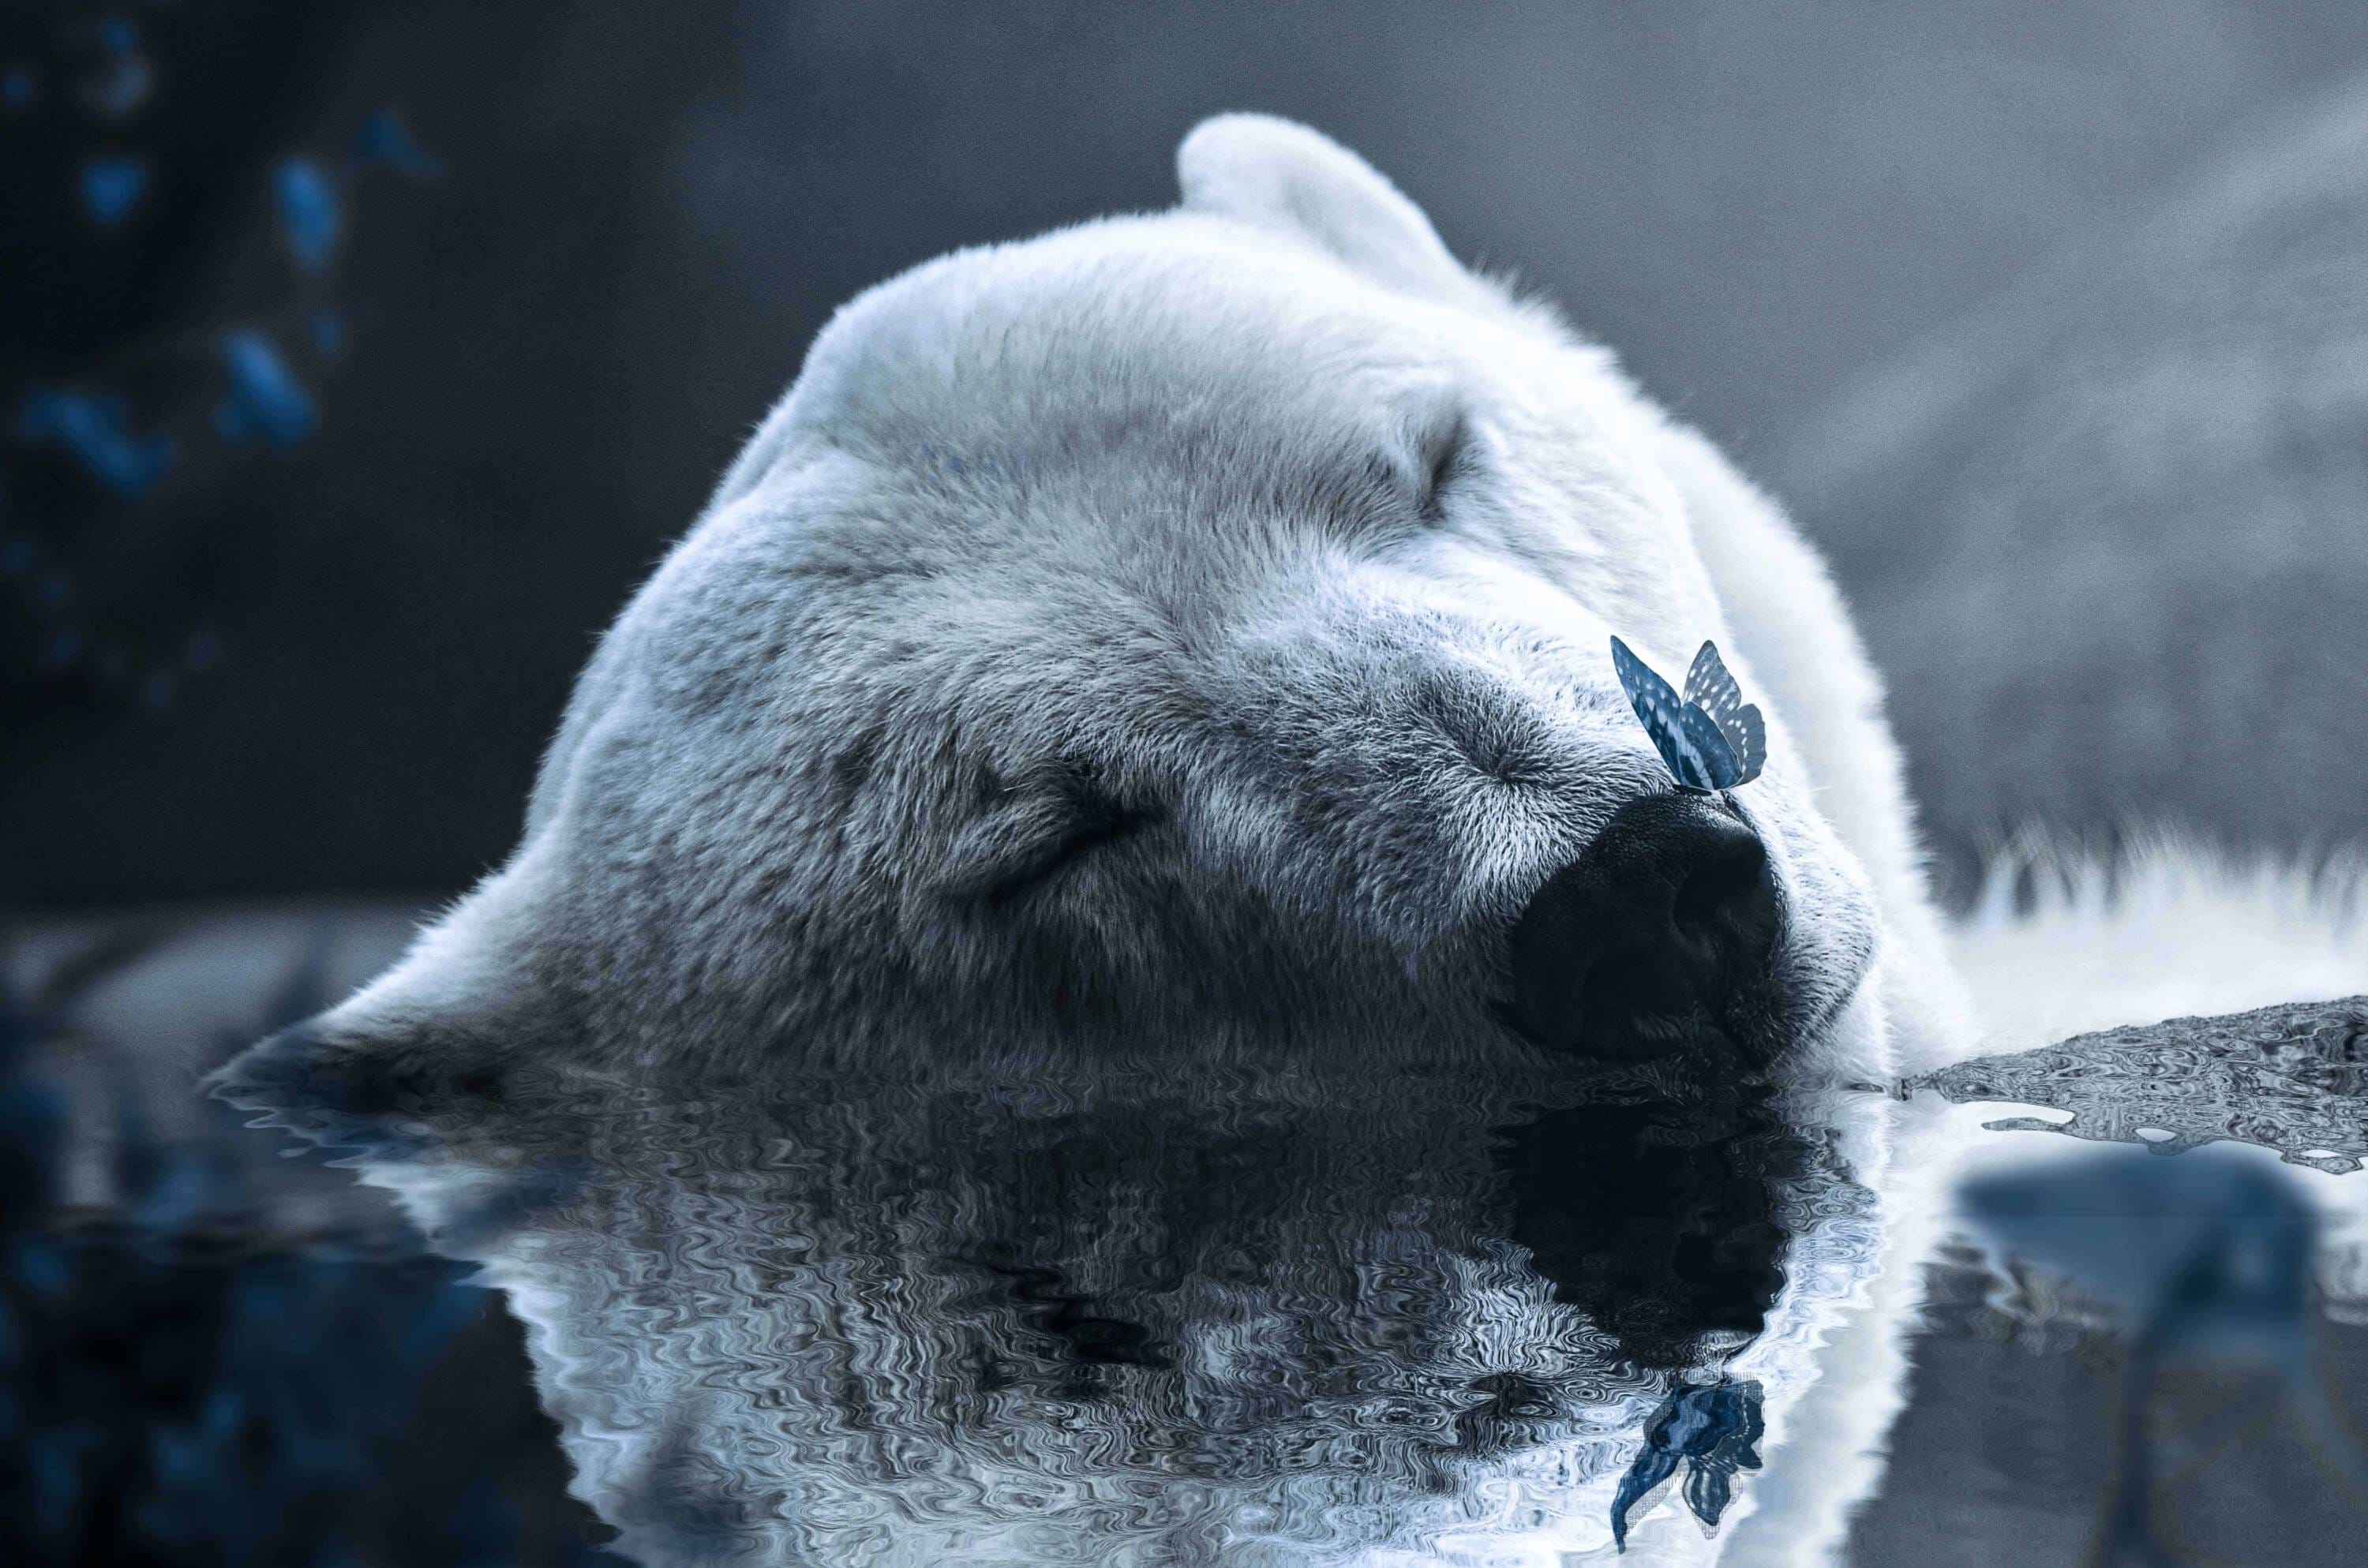
The useful part of this workflow is the displacement map. Instead of painting ripples by hand, you generate a texture from noise, push it through embossed channels, and let Photoshop use that texture to bend a copy of the bear. The result reads as water without needing a water photograph, and every control stays editable until you flatten the file.
Setting up the canvas and the ripple texture
Start with File > New and set the canvas to 1080 by 1350 pixels at 300 resolution, in RGB Color 8 bit with a black background. The portrait proportions suit a social-first crop, and the black base gives the noise something neutral to build on.

Go to Filter > Noise > Add Noise, set Amount to 400% and Distribution to Uniform, then confirm. Follow it with Filter > Blur > Gaussian Blur at a 1.3px radius. Uniform noise at high amount looks harsh on its own, and the light blur softens it into fine grain that will later read as small surface movement rather than static.

Turning noise into a displacement map
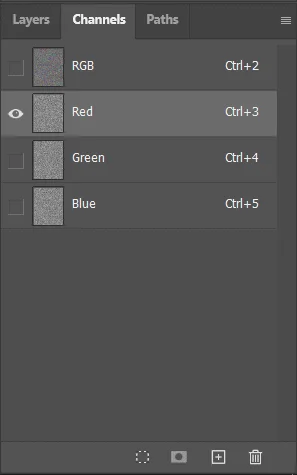
This is where the texture becomes directional. Open the Channels panel and select the Red channel. Apply Filter > Stylize > Emboss with Angle at 180, Height at 1px and Amount at 500%. The emboss converts tonal edges into raised and recessed lines, and the 1px height keeps those lines fine enough to suggest small wavelets.

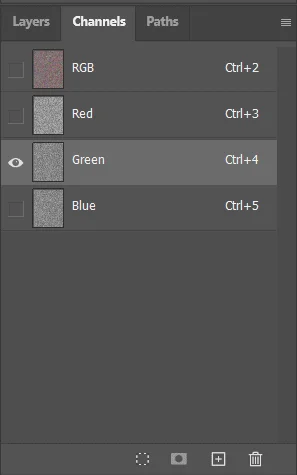
Next, select the Green channel and run the same Emboss filter again, this time with Angle at 90. Two passes at perpendicular angles give the map horizontal and vertical variation, so the displacement won't shift the bear in one direction only. Return to the RGB channel and back to the Layers panel when both passes look right.

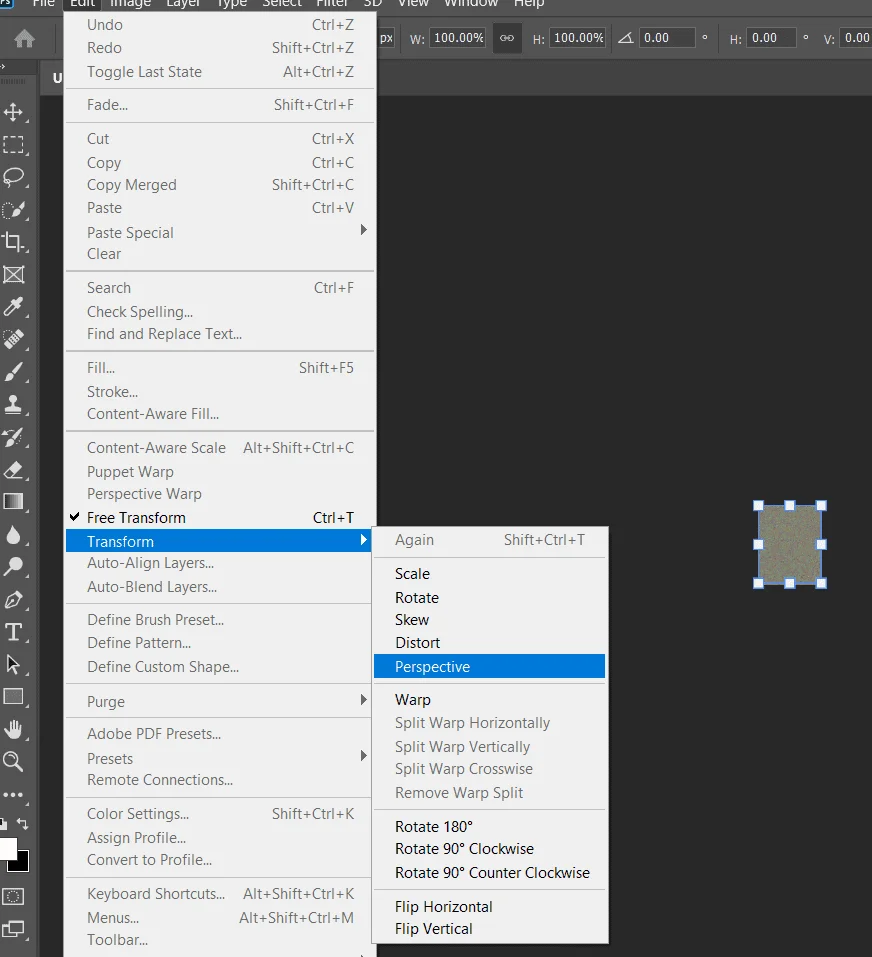
Duplicate the layer with Ctrl/Cmd + J, then zoom out slightly and press Ctrl/Cmd + T to transform. Choose Edit > Transform > Perspective and drag the bottom edge outward as far as the canvas allows, then press Enter. The stretched copy is what makes the map behave like a reflection surface: it spreads toward the bottom of the frame, mimicking the way water surfaces compress and widen with distance. Save this file as a PSD and name it Displace, because Photoshop needs a saved file to use as the map.

Distorting the bear into a reflection
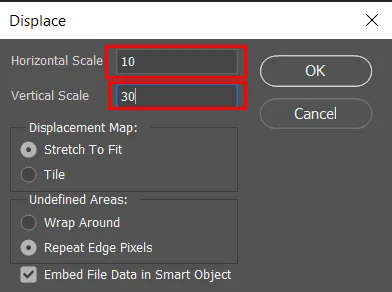
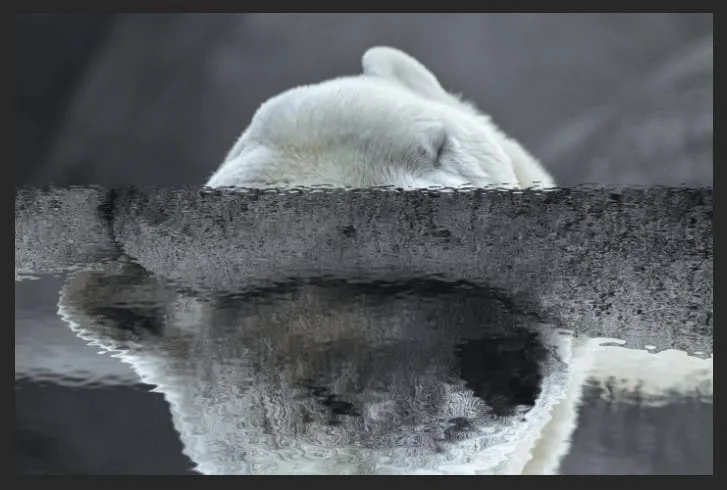
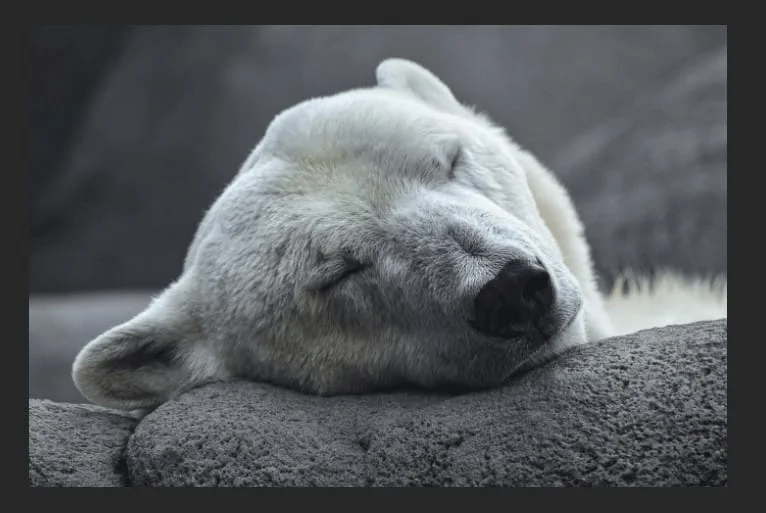
Open the stock polar bear image from Pixabay, then duplicate it with Ctrl/Cmd + J so the original stays untouched. Go to Filter > Distort > Displace and choose the Displace PSD you saved. The dialog asks for horizontal and vertical scale values and how the map should be handled at the edges. Those numbers control how far the bear's pixels move, so adjust them while watching the preview. Pushing the scale too high tears the fur into streaks, while a conservative value keeps the bear recognizable and still wavy.

Then go to Edit > Transform > Flip Vertical to turn the distorted copy into a reflection that sits beneath the subject. Add a layer mask to it. Masking is what turns a flipped, warped copy into believable water, because the reflection should fade with distance rather than end in a hard edge.

Fading the reflection and building contact shadow
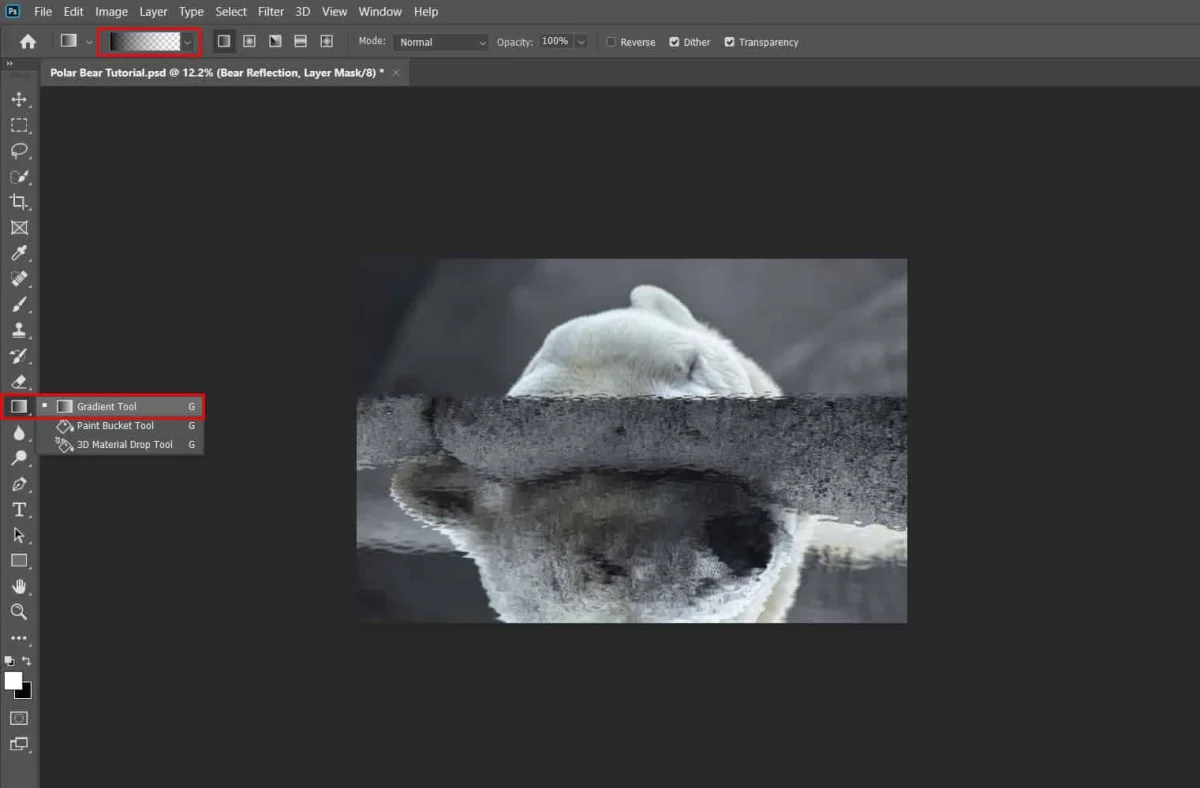
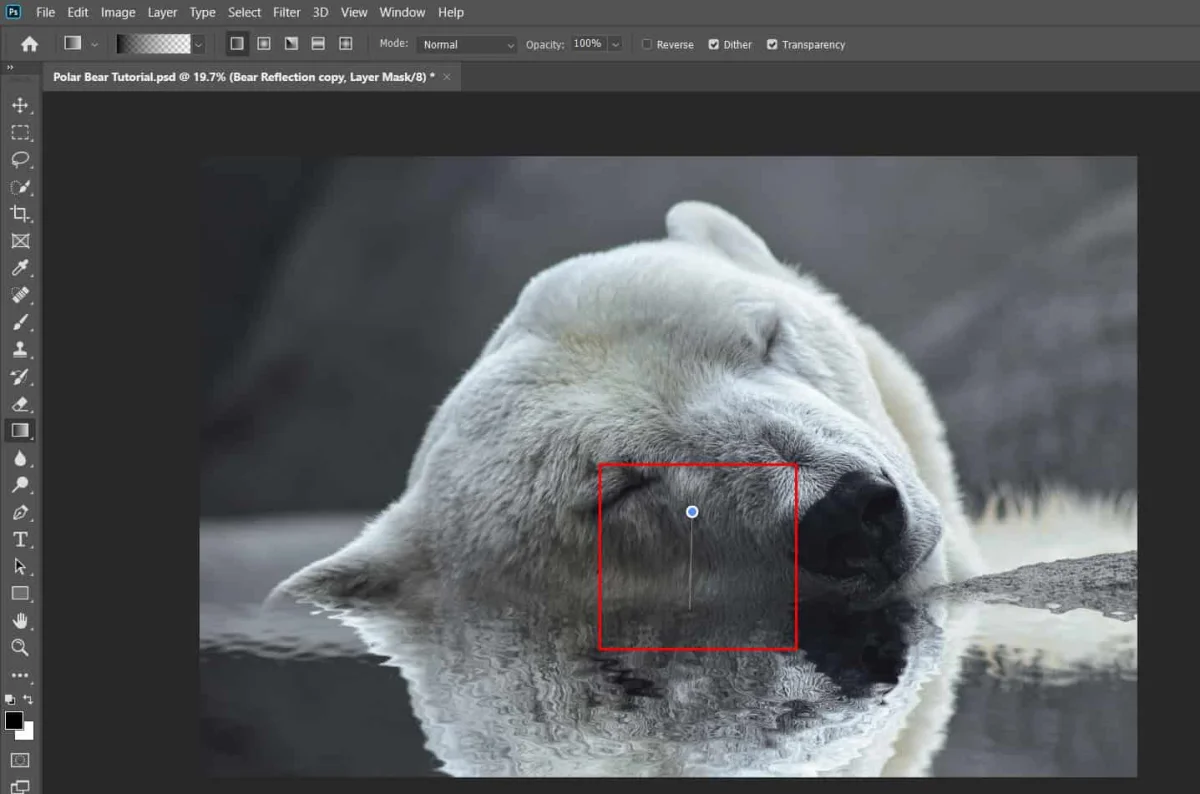
Select the Gradient Tool (G) and drag across the layer mask using black and white as the foreground colors. Set the gradient so the reflection is strongest near the waterline and dissolves as it moves away from the bear. Black hides the reflection and white reveals it, so check the mask thumbnail as you drag to confirm the direction.
The shadow comes next. Create a new layer and pick the Brush Tool (B) with a Soft Round tip, foreground color black. Drop Flow and Opacity to 15% and paint along the line where the bear meets the water. Low settings let you build the shadow in several light passes, which looks more natural than one heavy stroke. Keep the shadow on its own layer so you can soften or reduce it without repainting.


Adding the butterfly and final adjustments
For the butterfly accent, open the Pixabay butterfly image and select it with the Lasso Tool (L). Copy with Ctrl/Cmd + C, paste into the work canvas with Ctrl/Cmd + V, and position it using Ctrl/Cmd + T. To resize proportionally, hold Alt + Shift while dragging a corner. In recent Photoshop CC versions, holding Alt alone scales from the center on all sides, so check which behavior your version uses before you commit.
The source also builds water reflection and ivy elements, along with adjustment layers and a Camera Raw filter pass to finish the color. Those layers work best once the bear, reflection and shadow are settled. Add adjustment layers above the composite so you can tune tone and color without touching the pixels underneath, and apply the Camera Raw filter as a smart filter if your version supports it, so the grade stays adjustable.
The ivy and butterfly assets come from the resource list in the original tutorial, including Pixabay and DeviantArt listings. Check each asset's license before using it in commercial work, and credit the creators where their terms ask for it.

What to watch next time
The displacement technique transfers well beyond bears. Swap in a different subject, change the emboss angles, or alter the perspective stretch, and you get a different water surface each time. Keep the Displace PSD as a reusable asset, and you can run the same ripple pattern across a whole series for consistent results. The part worth practicing most is the mask and shadow work, since that decides whether the reflection looks like water or like a warped copy pasted under the subject.